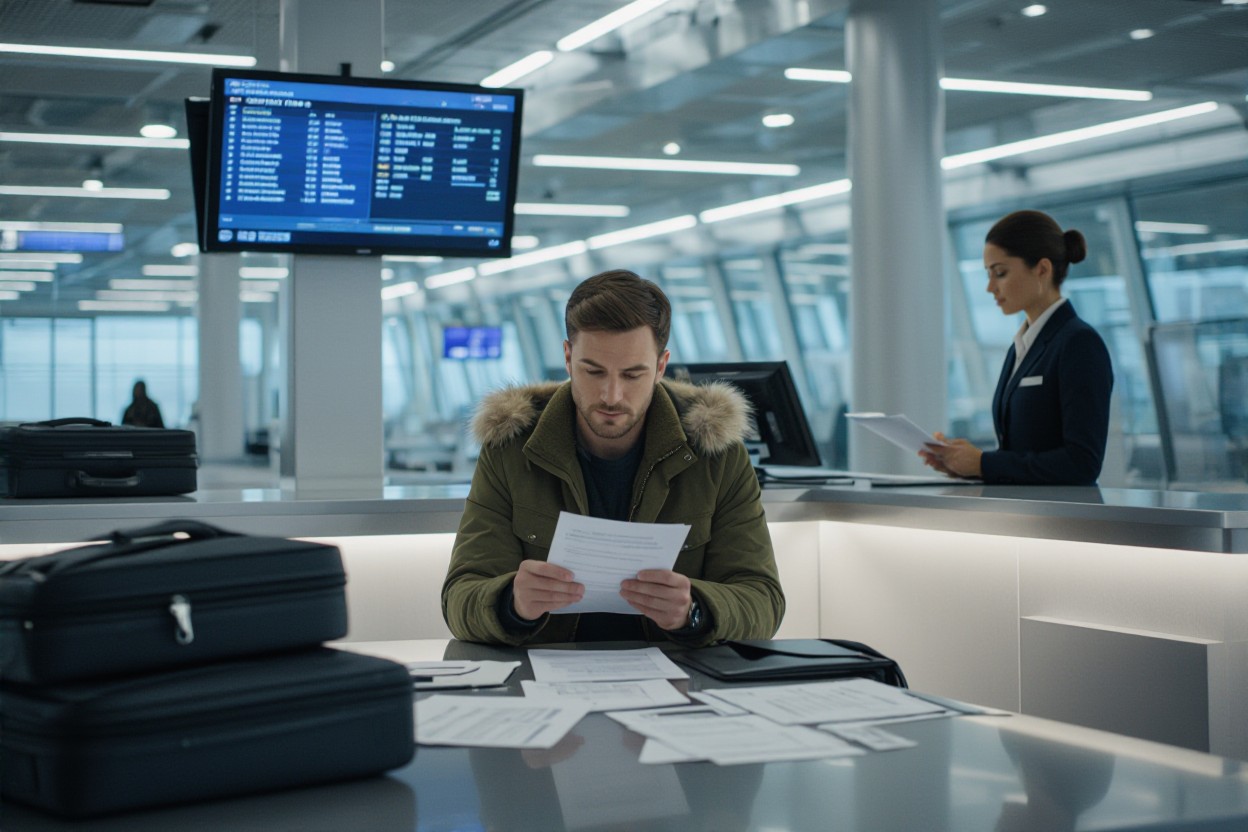
Many travelers skip photographing their check-in bag, but you should take six pictures of each side, the wheels, and the trolley handle upright and save them on your phone; these images help staff locate a lost bag or prove airline-caused damage so you can claim compensation or even a replacement. Include a measuring tape beside the bag to show exact dimensions and keep the files accessible until you collect your luggage.
Picture-Perfect Travel Insurance
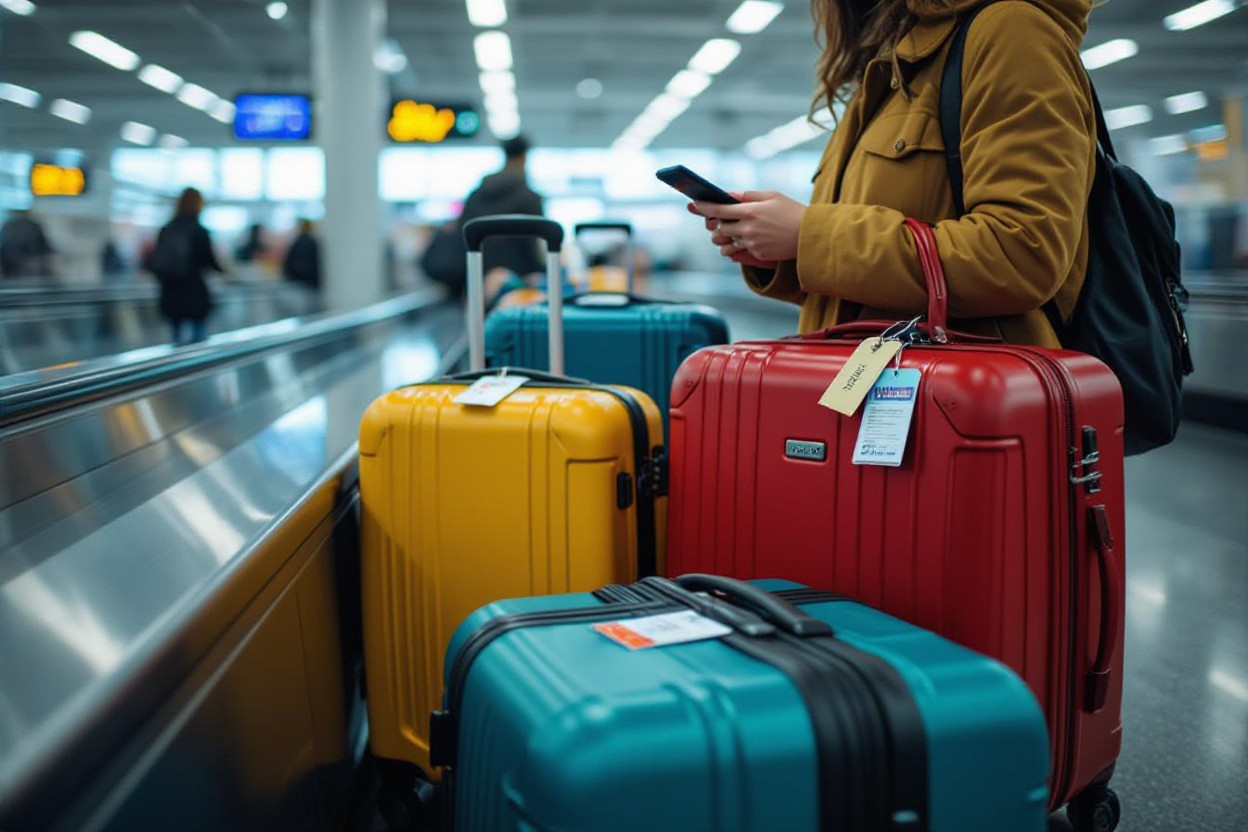
Take exactly six photos of your check-in bag, all four sides, the wheels, and the trolley handle upright and save them on your phone before boarding. Add a cheap measuring tape alongside the bag so handlers know if they’re searching for a 40 cm or 70 cm case. These images serve as instant proof for recovery or damage claims and speed up airline searches and compensation processes when you file a report.
How Photos Can Save Your Trip
You can present those six images at the baggage desk to identify a lost bag faster; I had a bag lost on a Doha–Kolkata Qatar Airways flight, and staff located it in Doha because I showed clear shots. Use photos of scratches, dents, or broken wheels to support damage claims that airlines often replace or compensate when you prove the bag was left intact. File claims with photos attached to avoid delays and strengthen your case.
The Psychological Impact of Visual Documentation
Carrying visual proof reduces panic and gives you a concrete plan: you know what to show, who to contact, and what details to cite. Seeing the exact bag image makes conversations with staff less abstract and cuts back on repeated explanations, so you spend less time stressed in queues and more time troubleshooting solutions like arranging rerouted delivery or compensation.
Organize photos into a folder named with your flight number and date, time-stamped or backed up to cloud storage, and attach them to emails or claim forms sent within 24–48 hours for faster processing. Include the measuring-tape shot and a brief caption (e.g., “Doha–Kolkata QR123, 28-Apr-2025”) so agents can match descriptions immediately and you can escalate confidently if replies stall.
The Essential Pre-Flight Checklist
Pack a quick photo session for your check-in bag: take six photos (all four sides, the wheels, and the trolley handle upright) and save them on your phone before boarding. These images help staff locate a lost bag. I had a Qatar Airways bag misplaced between Doha and Kolkata, and those pictures helped reroute it on the next flight and provide proof for damage claims. Lay a cheap measuring tape beside the bag so handlers know whether to search for a 40 cm or 70 cm suitcase.
Why Visual Documentation Matters
Visual proof speeds up retrieval and strengthens compensation claims: luggage descriptions are vague, but a clear photo with the handle up and wheel shots pins down identity. Airlines rely on matching physical features; presenting six consistent images lets staff compare items in minutes. Photographs showing prior condition scratches, intact wheels, and working trolley turn anecdote into evidence, giving you leverage to get repairs, a payout, or even a replacement bag when the airline accepts liability.
How to Capture Effective Images
Use natural light or airport lighting to avoid glare, hold the camera steady, and use the grid to align edges. Shoot close enough to show texture but far enough to capture the whole side; include a clear shot of the wheels and the trolley handle standing upright. Add a photo of any unique marks, tags, or serial numbers. Save all six images to your phone and back them up to the cloud so they’re accessible at the desk.
For extra protection, photograph the bag’s airline tag and your baggage receipt, and email the images to yourself for a timestamped copy. Enable your phone’s highest resolution, turn on HDR for balanced exposures, and take multiple shots of any potential damage areas. If you travel frequently, keep a small measuring tape in your carry-on and label photos with location and flight number to speed up claims and recovery.
The Art of Bag Photography
Shoot exactly six photos: all four sides, the wheels, and the trolley handle in the upright position, and save these pictures on your phone before you check in. A clear set of images helped me when Qatar Airways lost my bag on a Doha–Kolkata flight; airport staff located it using my photos and sent it on the next plane. Use these shots both to expedite recovery and to file claims for damage or replacement.
Best Practices for Capturing Your Luggage
Place your bag against a plain background in good natural light, frame each shot so the bag fills 60–80% of the image, and include a cheap measuring tape laid along the side to show size (40 cm vs 70 cm). Capture the wheels, trolley handle upright, zippers, locks, and any existing scuffs; keep original resolution and metadata on your phone for faster airline processing.
Key Angles to Ensure Clarity and Detail
Shoot straight-on shots of the front, back, left, and right faces, a bottom view showing the wheels and underside, and a top view with the handle upright; add close-ups of handles, wheels, locks, and fabric seams. Combine wide-frame images for identification with tight-detail shots for scratches or broken parts, so staff can match the bag visually and assess damage for compensation.
For each face, hold the camera at the bag’s midline height for even perspective; tilt to 45° for a three-quarter view that reveals depth and shape. For damage, include a ruler in macro shots and take multiple angles of the same dent or the broken wheel area to prevent disputes. Photograph baggage tags and any airline stickers too; those identifiers speed up tracing and claims.
Navigating Missing Luggage Scenarios
Steps to Take When Your Bag Is Lost
Report the loss at the airline baggage desk immediately and insist on a written PIR (Property Irregularity Report) number; keep your baggage claim tag and boarding pass. Provide your six pre-flight photos and a measurement, give flight and contact details, and request the expected delivery or compensation timeline. Follow up every 24–48 hours and escalate to the airline’s claims department or social channels if you get no reply after 72 hours. On my Doha–Kolkata Qatar Airways flight, the photos helped them locate and reroute my bag on the next flight.
Leveraging Your Documentation for Recovery
Keep the six photos (all four sides, wheels, trolley handle upright) on your phone and cloud backup, and include a measuring tape in at least one shot to show the exact size. Email the originals with metadata intact to the airline and your insurer, attach receipts and serial numbers, and reference the PIR number and baggage tag in every message. Clear visual proof of pre-flight condition speeds both recovery and damage compensation.
Preserve EXIF timestamps by not editing images; send originals first, then annotated copies if needed. Scan boarding pass and receipts, then compile photos, receipts, and the PIR number into a single PDF for quick uploads. File damage claims within 7 days, and note that many carriers declare baggage lost after 21 days; meeting those deadlines boosts your chance of full reimbursement or replacement.
Navigating Airline Accountability
Keep the six photos on four sides, wheels, and trolley handle upright on your phone and back them up to the cloud so you can present instant proof at the baggage desk. File a PIR before leaving the airport and insist on a written reference number; that step often turns a lost-bag search into a successful recovery. I had Qatar Airways find my bag in Doha and forward it on the next flight because I showed those photos. Lay a cheap measuring tape beside the bag so handlers know whether to look for a 40 cm or 70 cm case.
Understanding Your Rights as a Passenger
You can demand a formal report and a claim reference at the airport; keep your boarding pass and baggage tag. Many international carriers require damage claims within 7 days and delayed-baggage claims within 21 days, so act fast. Airlines have limited liability but must respond to documented claims; save receipts for repairs or replacement, and escalate to the airline’s claims department or your national aviation regulator if their reply is delayed or inadequate.
How to Document Damage and Secure Compensation
You should photograph the whole bag and take multiple close-ups of every scratch, dent, broken wheel, or faulty handle, with a measuring tape visible in at least one shot. Get the agent to sign the PIR and note the damage on a written report; keep repair quotes, receipts, boarding pass, and luggage tags. Email the airline a clear claim with timestamps and the PIR reference to start the compensation process. Many airlines will offer repair reimbursement or a replacement.
For extra leverage, photograph the luggage tag barcode, any airline handling labels, and the bag’s brand/serial number; attach dated repair estimates or a local cobbler’s invoice to your claim. If the airline stalls, use your credit-card travel insurance or file a complaint with the national aviation authority. Highlighting the PIR reference, timestamps, and the set of six photos repeatedly in follow-ups raises your chance of getting full repair costs or a replacement.
Claiming Compensation for Damaged Luggage
You should always photograph your check-in bag from all four sides, the wheels, and the trolley handle upright. Six photos saved on your phone, plus a measuring tape beside the bag, prove size and condition; these images often win you compensation or a replacement when handlers break wheels, dent shells, or lose the case. For other travelers’ lessons, see What is a travel lesson you learned the hard way?
Understanding Your Rights as a Passenger
Report visible damage at the airline’s baggage desk before leaving the airport and insist on a Property Irregularity Report (PIR); airlines require written claims for damaged baggage within 7 days and for delayed baggage within 21 days under the Montreal Convention, with limited liability (about 1,288 SDR, roughly US$1,700) keep your boarding pass, baggage tags and all receipts to support value claims.
Strategies for Filing a Successful Claim
Start your claim at the airport with the PIR, attach your six pre-flight photos and measuring-tape shot, submit purchase receipts or repair estimates, and file the carrier’s online claim within their deadline; note claim reference numbers, follow up every 7–10 days, and escalate to the airline’s customer relations or your credit-card insurer if you hit a stall persistence plus documented proof raises your odds of a full payout.
Label each photo (front, back, left wheel, right wheel, handle, measuring-tape), timestamp or metadata-check them, include a short chronology of events in your email, convert receipts and photos to a single PDF, and send with the PIR number; if the airline denies liability, use the same packet to claim through travel insurance or small claims court organized, timestamped evidence is what wins settlements.
Quick Tips for Effective Baggage Tracking
- Photograph
- Measure
- Bluetooth trackers
- GPS trackers
- Airline policies
- File claims
The Value of Measuring Your Bag
Lay a cheap measuring tape next to your bag and capture one of the six photos with the tape visible; airlines and handlers can immediately distinguish a 40 cm carry-on vs a 70 cm checked suitcase, speeding recovery and proving size for claims. In my Doha–Kolkata Qatar Airways incident, the tape and photos helped staff locate and identify my exact bag. Keep measurements in the photo metadata and saved offline so you can show exact dimensions even if airline systems lag.
Utilizing Technology for Real-Time Tracking
Slip a small Bluetooth tag like an Apple AirTag or Tile inside a secure pocket and pair it to your phone. Bluetooth range typically covers 30–120 meters, and networks like Find My can crowd-locate beyond that; coin-cell trackers usually last about 1 year, while GPS+SIM trackers provide live location but drain batteries faster. Note that airline policies and battery limits vary, so check rules before placing active devices in checked luggage.
Active GPS trackers (examples: Tracki, Spot Gen4) use cellular data and batteries often in the 1,000–3,000 mAh range, giving real-time updates but only 5–30 days per charge depending on reporting frequency; Bluetooth tags (AirTag, Tile) rely on coin cells (~CR2032) with ~6–12+ months life and leverage surrounding phones for location, which is why AirTag use has helped passengers recover bags in major hubs. Place trackers inside a reinforced pocket or attach to the frame to prevent detachment during handling; keep receipts and the device serial number in your saved photos to add evidence when filing a claim. Assume that you check airline rules about active transmitting devices and high-capacity batteries before placing any tracker in checked baggage.
The Importance of Detail: Measuring Your Bag
Place a cheap measuring tape next to your bag in each of the six photos (four sides, wheels, trolley handle upright) so handlers know exact dimensions at a glance; listing length, width, and depth in centimeters avoids guesswork for example, call out whether the bag is 40 cm or 70 cm long. Doing this speeds identification and strengthens damage claims by tying a visual record to precise measurements.
Adding Context with Size References
Lay the tape flat beside the bag, show both cm and inches on the tape, and shoot from a straight angle so the numbers are legible; note length × width × depth (e.g., 70×48×30 cm) and include the upright handle in one shot for total height. Airport teams compare these dimensions to stored pieces, so clear, consistent measurements cut the search time.
Why Accurate Measurement Aids Retrieval
Ground staff sort thousands of unclaimed pieces by color, brand, and size; providing exact dimensions helps them eliminate similar-but-different bags and match yours faster. When you report a missing bag and supply photos showing a taped 70 cm hard-shell with a visible scuff and intact trolley, they can pinpoint it among dozens of black suitcases.
Operations in baggage offices often catalog items with physical descriptors and tag numbers; giving exact dimensions plus a photo lets staff cross-reference automated logs and manual piles, reducing misidentification. Typical recovery windows are 24–48 hours if your submission includes clear measurements and the baggage tag or flight details, and precise sizes also strengthen compensation claims for broken wheels or dents.
Real-Life Experiences: What Travelers Wish They Knew
First-Hand Accounts of Lost Luggage
Having six photos each of the four sides, the wheels, and the trolley handle upright, saved my Doha to Kolkata trip after Qatar Airways misplaced my bag. You show the images at the desk, staff matched the unique scuff and handle tag, and traced it to Doha, then rerouted it on the next flight. Carrying a cheap measuring tape in shot (40 cm vs 70 cm) made identification immediate.
Lessons Learned from Bag Damage Claims
Scratches, broken wheels, and bent trolley handles are the most common damages; you can prove pre-flight condition with those six photos. File a Property Irregularity Report (PIR) at the airport counter and follow up in writing within 7 days. Airlines often issue repair vouchers or a replacement if you provide clear before-and-after photos and receipts.
Collect proof: keep your boarding pass, bag tag, PIR number, and original receipts for high-value items. Photograph damage from multiple angles and include a measuring tape to show dimensions. Use a credit card with baggage protection to speed reimbursement, log every call/email, and escalate to customer relations or the regulator if the carrier stalls. Persistence often turns a small payout into full repair or replacement.
Packing Smart: Preventative Measures for Your Bags
After taking six photos of your check-in bag, four sides, the wheels, and the trolley handle upright, store them on your phone and include a measuring tape in one shot to show exact dimensions; those six photos plus the tape help staff locate a lost bag or support a damage claim. I had Qatar Airways find my bag from Doha to Kolkata because of the photos. For more field-tested pointers, see Travel Tips and Lessons Learned From A 9-Month Journey …
Choosing Durable Luggage
You should opt for a hard-shell polycarbonate case with reinforced corners, YKK zippers, and a 5-year warranty; a 70 cm spinner with eight wheels reduces axle stress and zipper strain. Look for welded seams and replaceable wheel failures like broken wheels or torn fabric, which are the most common, costly problems you’ll face when handlers are rough.
Packing with Care to Minimize Damage
Use soft layers, packing cubes, rolled clothes, and a wrapped towel around fragile items; place electronics centrally and position heavy shoes near the wheels to stabilize your bag. Bubble-wrap glass, seal liquids in zip bags, and keep your six pre-flight photos ready to document any scratches, dents, or broken wheels when filing a claim.
Layering protects: you should start with a base of rolled garments, add a rigid divider or small foam panel, then cushion breakables with sweaters or towels. Place sharp items sheathed and batteries in carry-on, secure loose straps with zip ties, and double-seal liquids in 100–200 ml containers. If your bag is lost, present the six photos with the measuring tape (e.g., 40 cm vs 70 cm) when filing a Property Irregularity Report to speed identification and strengthen your compensation case.
Final Thoughts on Travel Preparedness
Practical summary
Take and save six photos of your check-in bag, four sides, the wheels, and the trolley handle upright with a cheap measuring tape in frame (so staff know if they’re looking for a 40 cm or 70 cm case). If your bag is lost, as on a Doha–Kolkata Qatar Airways flight, those images often let staff locate it and send it on the next flight; they also provide proof to claim compensation for broken wheels, scratched shells, or to secure a brand new bag.
Final Words
To wrap up, always photograph your check-in bag before boarding: all four sides, the wheels, and the trolley handle upright, six photos saved on your phone before you catch a flight. These images help staff locate a lost bag and provide proof to claim repair or replacement for damage caused in transit. Lay a cheap measuring tape beside the bag in the shots so handlers know the exact size if they need to search or replace it.